Amazing Tips About How To Build A Magnet Gun

Magnetic Rail Gun Science Project Ii - How To Build It Youtube

How To Make A Coilgun: 15 Steps (with Pictures) - Wikihow
Diy Inexpensive Gun Magnet Mount: Conceal Your Firearm Within Arm's Reach - Its Tactical
Electromagnetics: How To Make A Powerful Dyi Coil Gun | Custom Maker Pro
Diy Inexpensive Gun Magnet Mount: Conceal Your Firearm Within Arm's Reach - Its Tactical

Diy $7 Gun Magnet : R/guns

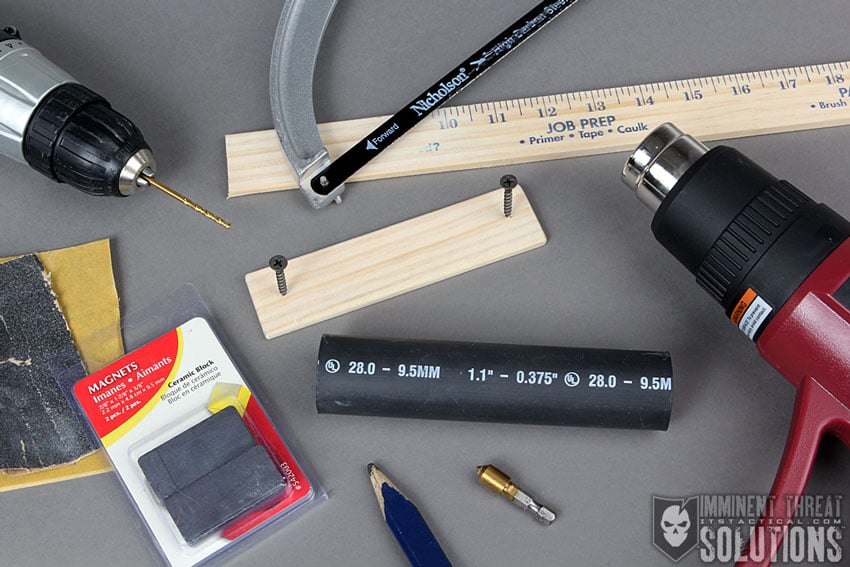
After that leave two inches off it and start to wind the magnetic wire tightly one after the other.
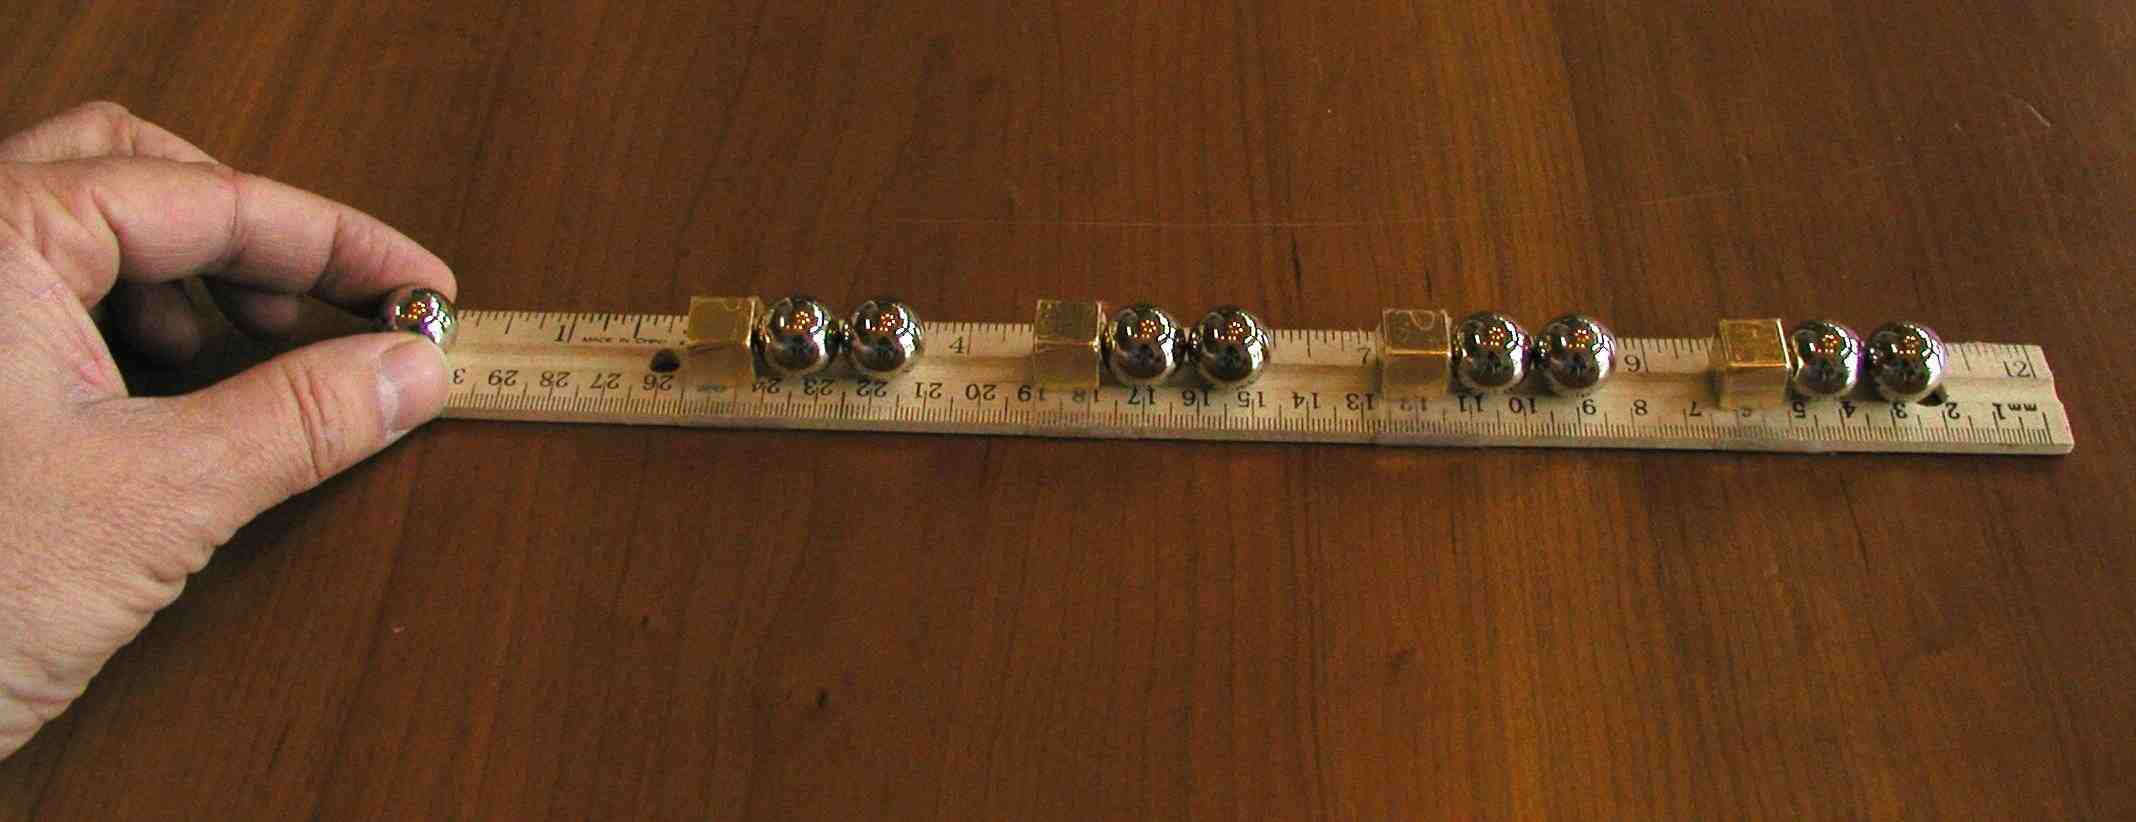
How to build a magnet gun. Firstly, to determine the placement of the gun magnet. The strips are 9/16 inch apart (d) and serve as the bore of the permanent magnet. About press copyright contact us creators advertise developers terms privacy policy & safety how youtube works test new features press copyright contact us creators.
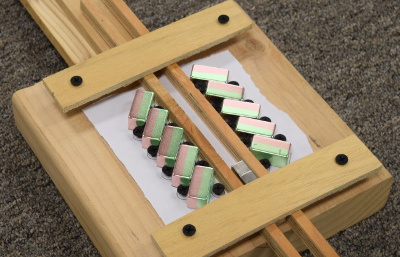
When the projectile is placed in the barrel from behind, it is pulled into a stable position just before the blocks. The complete circuit diagram for this single stage coil gun is shown in the image below. The angle blocks are glued to the base board as well as two 3/4 x 3/4 inch strips of wood (c) 18 inches long.
Take a piece of cloth and pour a little bit of rubbing alcohol on it. How to make a simple magnetic gun (diy) As you can see the circuit is pretty simple.
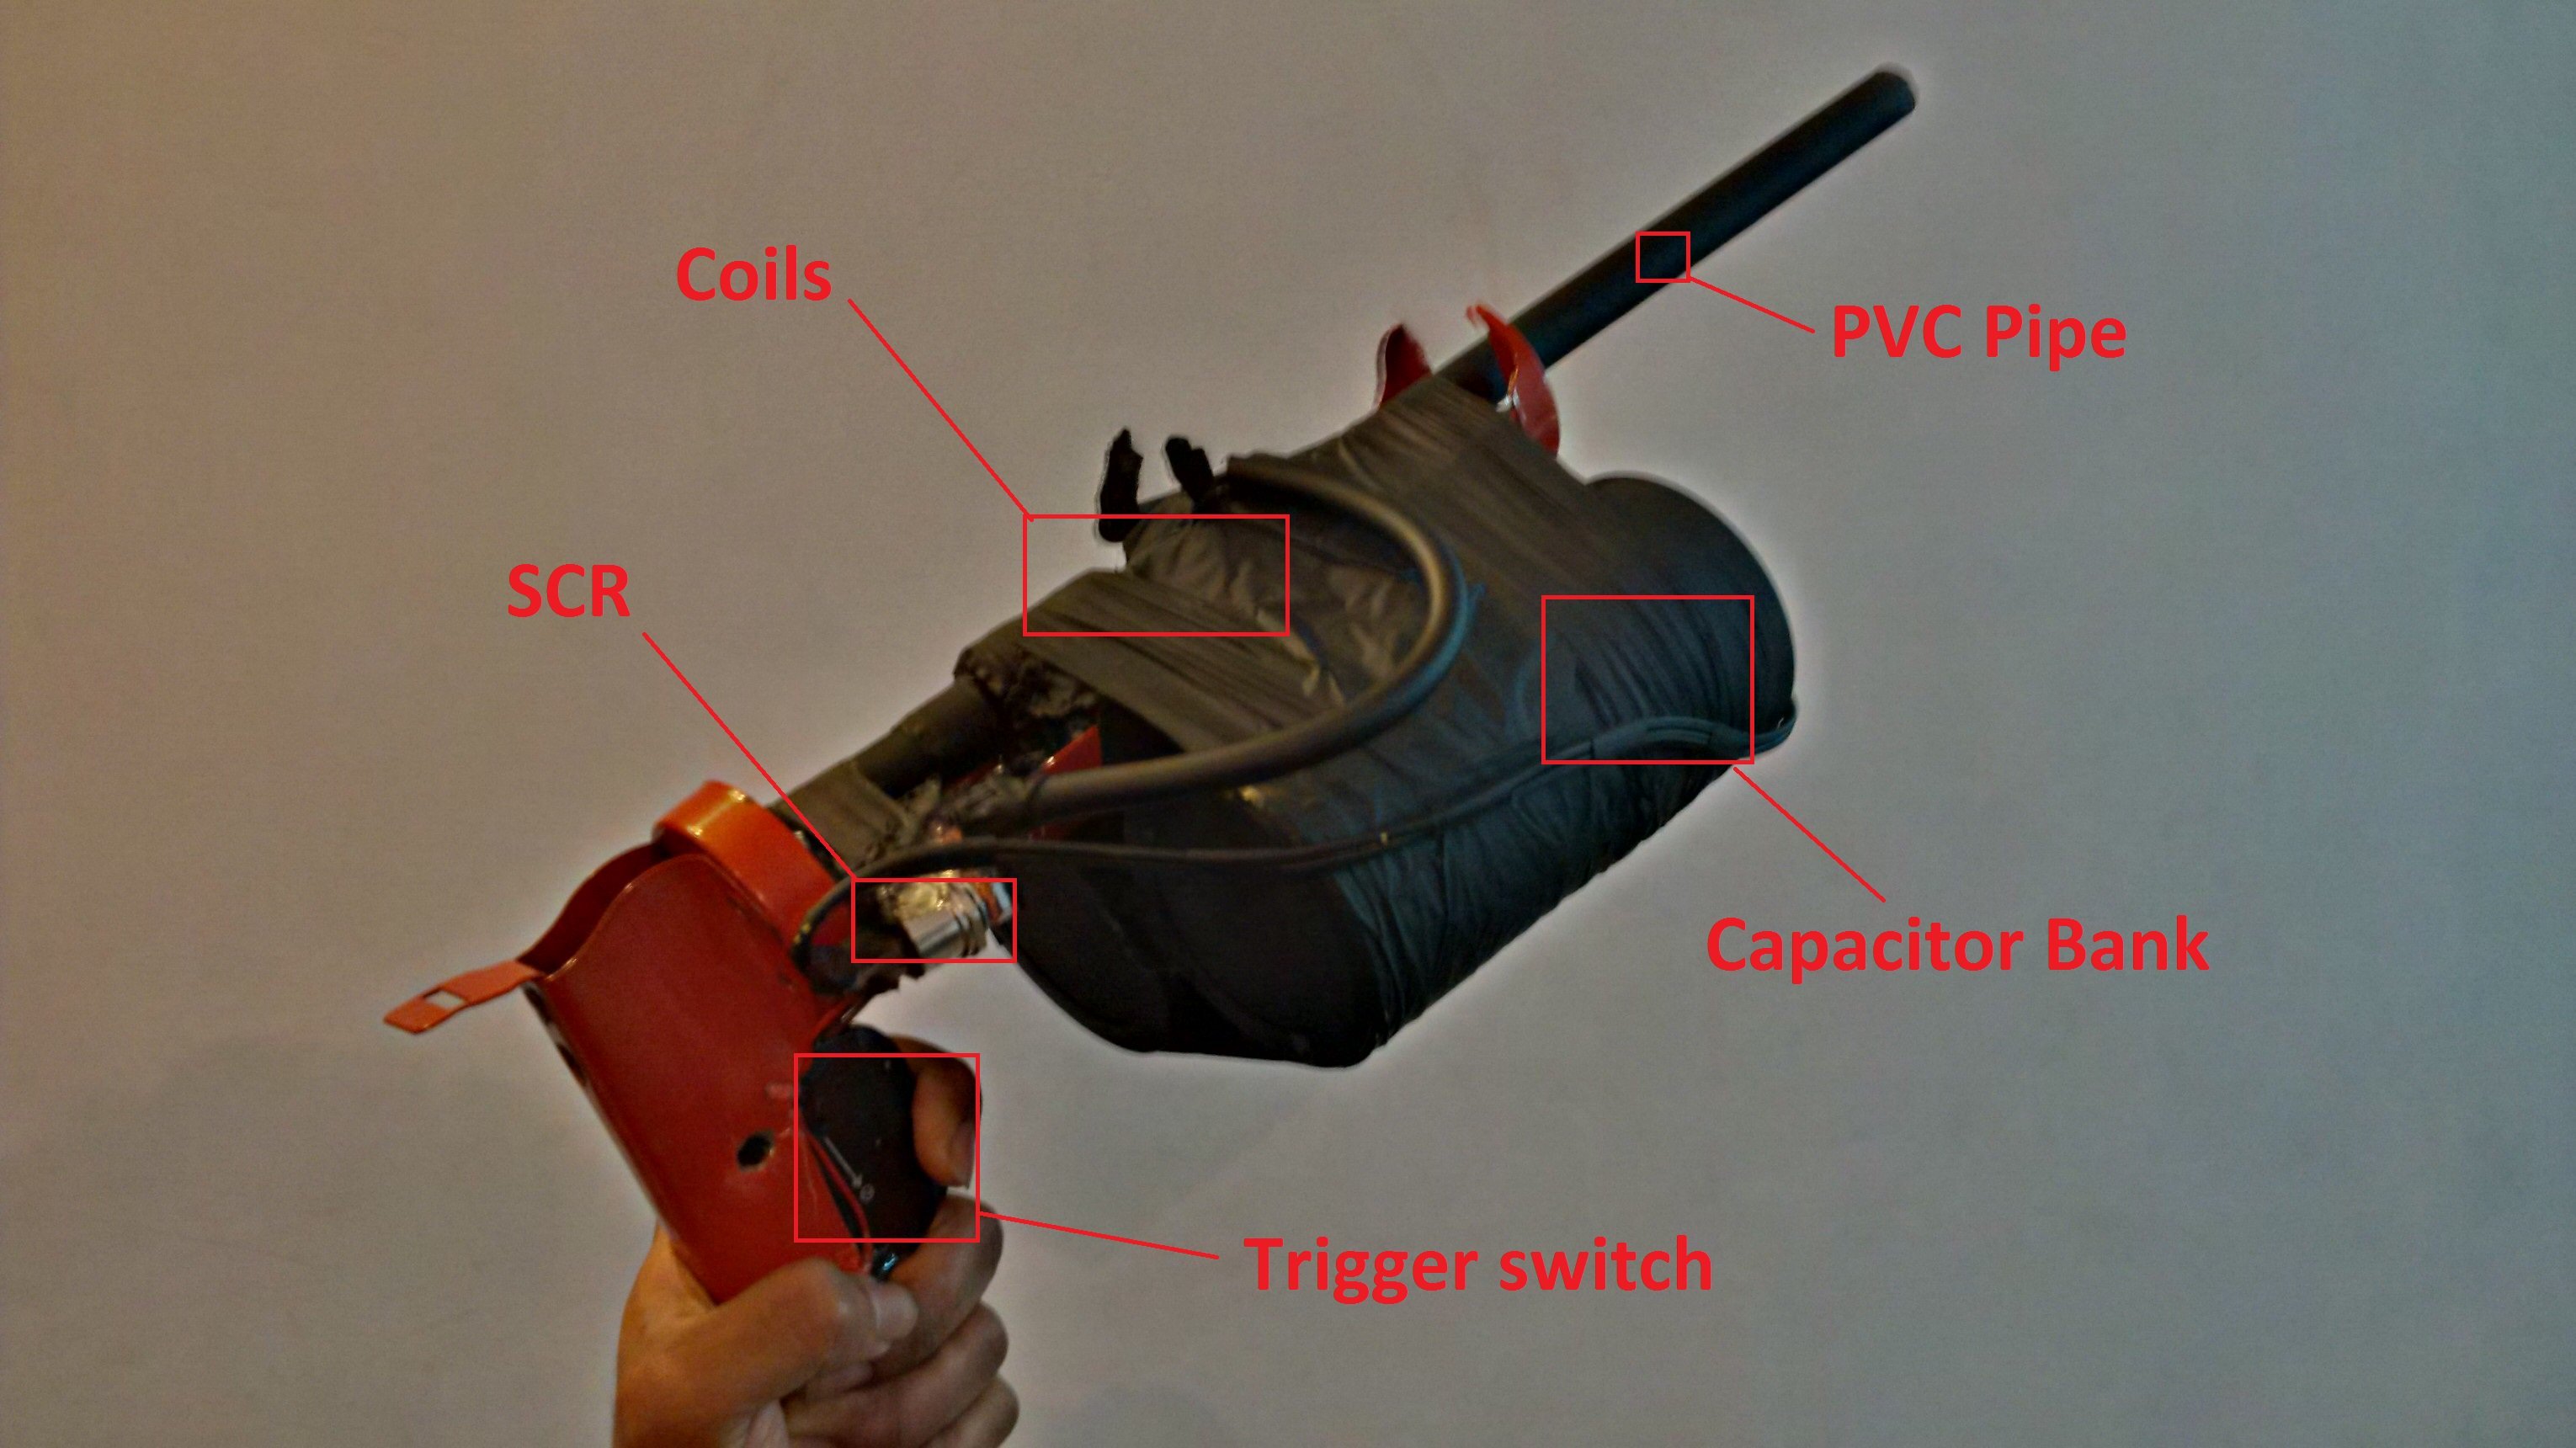
Take your two bottle caps and tape them to the pen about the size of your nail. Tape the capacitor to the bottom of the gun. When the coil length of l with the number of turns n and current of flowing through the coil generates a magnetic field proportional to the current that flows through it:
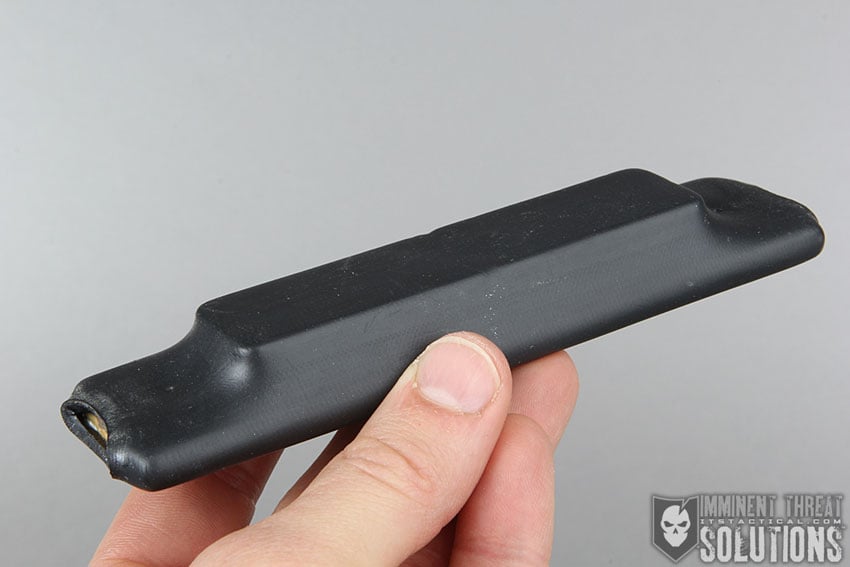
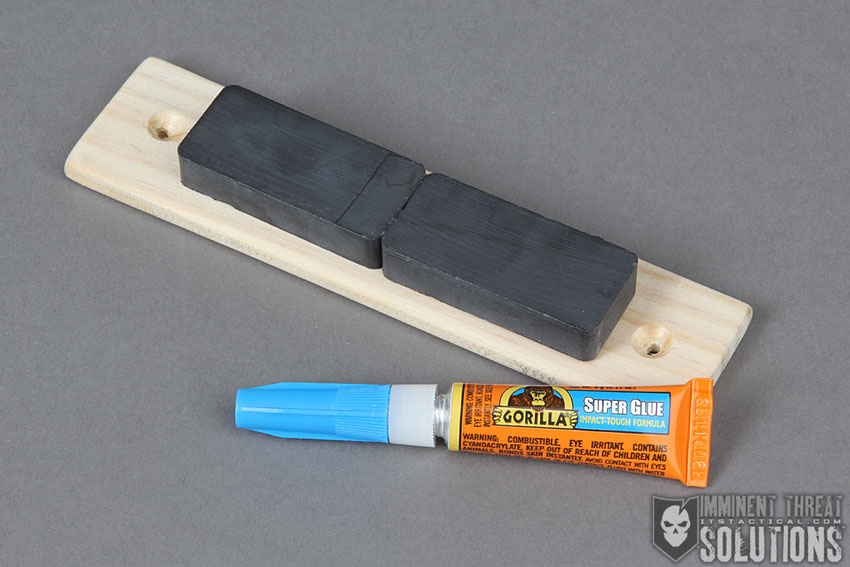
Then buy a 3m both side scotch tape, or sticker to mount the gun magnet. Here, we break this down into four stages: You generally need a small.
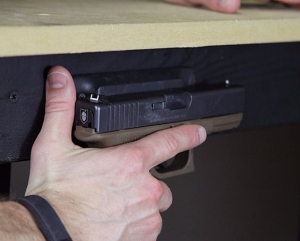
Be sure to leave room between the wall and the table for your hand to draw the gun. Because that will help to stick properly. In this setup, the magnetic gun mount is installed on the wall behind the bedside table.
Next, we push the projectile. First, a single steel ball is rolled towards the magnet at a slow speed, as shown in step 1 at right. This video gives more info on the dimensions, materials, and construction method shown in the original magnetic rail gun video.
In step 2, the ball is attracted to the magnet more and more as it gets closer to it. Assemble the pipe along the length of the gun, fix it using some hot glue or other adhesives, arrange the scr on the side and glue it.

Permanet Magnet Guns

Magnet Cannon : 5 Steps - Instructables

Magnet Cannon : 5 Steps - Instructables

Diy Inexpensive Gun Magnet Mount - Youtube

Diy Coilgun Does Serious Damage With Electricity And Magnets

Magnet Cannon : 5 Steps - Instructables
How To Make A Simple Magnetic Gun - Youtube
Chapter 1: Magnetism -- Build A Gauss Rifle Magnetic Linear Accelerator

Permanet Magnet Guns
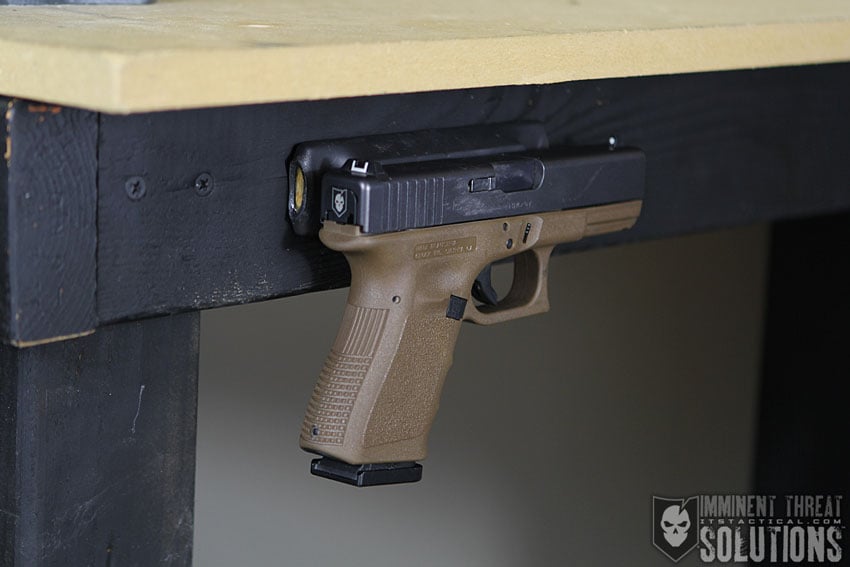
Diy Inexpensive Gun Magnet Mount: Conceal Your Firearm Within Arm's Reach - Its Tactical
Diy Inexpensive Gun Magnet Mount: Conceal Your Firearm Within Arm's Reach - Its Tactical
Magnet Cannon

How-to Make A Magnet Gun - Easy Youtube